Do you have a green thumb? Are you constantly looking for a place to store all of your gardening tools and supplies? If so, then you need a garden shed! Not only are they great for storage, but they can also be a great addition to your yard.
In this blog post, we will show you how to build your own garden shed. We will provide you with step-by-step instructions using a prefabricated shed. So what are you waiting for? Get started on your ultimate garden shed today!
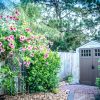
Deciding where to put your shed
When it comes to where to place your garden shed in your yard, there are a few things you’ll want to keep in mind. First, think about the size of your shed and make sure there is enough room for it in your yard.
You’ll also want to consider the location of your shed; it should be in a spot that is easy to access and that won’t block pathways or interfere with other activities in your yard. If you have any trees or shrubs in your yard, make sure there is enough room for the shed to be placed around them without damaging them.
Finally, think about the amount of sunlight the shed will get and try to place it in an area that gets plenty of sun. This is a great idea if you would like to run appliances says Ben who runs an appliance repairs sydney company.
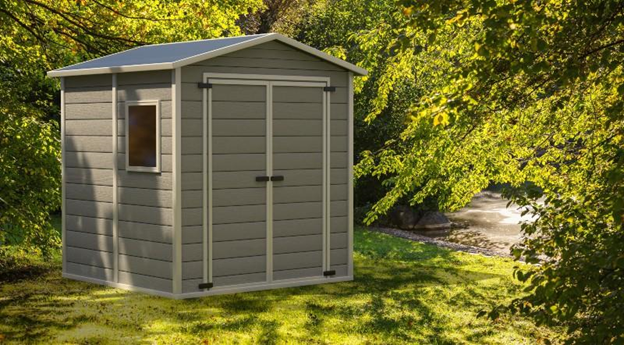
Decide on what type of shed you would like
Prefabricated sheds are available in a wide range of materials, sizes, and shapes. It is important to choose the right one for your needs. If you are looking for a shed that will house your garden tools and equipment, you should opt for a model that is spacious and has plenty of shelves and hooks for storage.
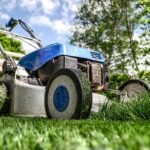
If you need a shed to store your bikes or lawn mower, choose a model that is small and easy to assemble. There are also sheds that come with features like windows and doors, which can be helpful if you plan on using your shed as a workspace.
Building the Base
When it comes time to build a base for your garden shed, it’s important that you take the time to do it right. A poorly constructed base can lead to a number of problems down the road, including:
– Shed instability
– Poor water drainage
– Foundation damage
To avoid these issues, it’s important to build a sturdy base for your shed. The most common way to do this is by using concrete blocks or pavers. Begin by marking the area where your shed will be located.
Next, lay out the blocks or pavers in a square or rectangle shape and make sure they are level. Once the base is laid out, you can begin pouring the concrete. Make sure to follow the manufacturer’s instructions when doing so, and be sure to allow enough time for the concrete to set before putting your shed on top.
Assemble the Shed
If you have purchased a prefabricated shed, the assembly process will be mostly done for you. However, it is important to make sure that the walls are level and plumb before you move on to the next step. This will ensure that your shed is stable and looks professional.
To level the walls, use a spirit level or a carpenter’s level. Make sure that the bubble is in the center of the level, and then adjust the screws on the wall until the wall is perfectly level. Do the same thing for the plumb line, making sure that the shed is square in all directions.
Once the walls are level and plumb, you can begin attaching the roof and doors. Be sure to follow the instructions carefully, so that everything is properly secured.
Install the Roofing
The roof is the most important part of a shed, as it protects the contents from the weather. There are many different types of roofing materials that can be used, such as shingles or metal panels. It is important to choose a material that is durable and will withstand the elements.
The roof can be attached to the shed in several different ways. The most common method is to use nails or screws to attach the roofing material to the top of the shed. Make sure the roofing is installed properly so that it will not leak and cause damage to the shed.
Chris from LB Solar Brisbane says many people also install solar panels on their garden shed roof so keep that in mind if you would like to power some appliances.
And there you have it! Your very own garden shed! Now all you need to do is fill it with all of your gardening supplies and tools and you’re ready to go! We hope this blog post has been helpful and that you now feel confident in building your own shed.
Thanks for reading and happy gardening!